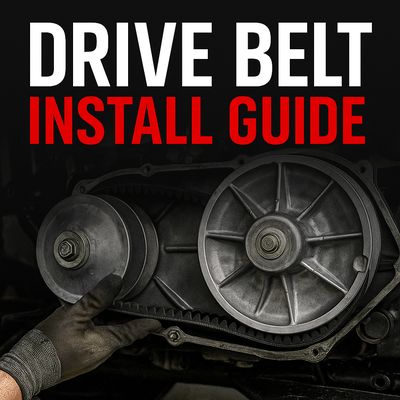
How to Install a UTV Drive Belt: Step-by-Step Guide
Posted by Dustin Robbins on Sep 25th 2025
How to Install a Drive Belt on Your UTV
Your UTV’s drive belt is one of the most important parts of your machine. It connects the engine to the transmission, transferring power to the wheels. Over time, belts wear out, and replacing them before they fail is key to keeping your UTV running strong. Whether you ride dunes, mud, trails, or rock climbs, knowing how to install a drive belt is an essential part of maintenance.
When to Replace Your Drive Belt
A drive belt should be inspected regularly and replaced if you notice:
-
Cracking, glazing, or fraying
-
Uneven wear or missing cogs
-
A burnt smell after rides
-
Slipping or loss of power under load
Replacing the belt early helps prevent being stranded on the trail and protects clutches from damage.
Tools You’ll Need
Before starting, gather these basic tools:
-
Drive belt removal tool (specific to your UTV model)
-
Socket set or ratchet
-
Torque wrench
-
Clean shop rag
-
Gloves and eye protection
Step 1: Prepare Your Machine
Park your UTV on level ground, set the parking brake, and remove the key. Allow the machine to cool if you’ve just finished riding—drive belts get extremely hot under load.
Step 2: Access the Clutch Housing
Locate the clutch housing cover, usually found on the side of the machine. Remove the bolts with a socket or ratchet and carefully take off the cover. Keep bolts organized so they go back in the right spots.
Step 3: Remove the Old Belt
Insert the belt removal tool into the secondary clutch (following your machine’s manual for placement). Rotate to spread the sheaves and loosen the belt. Slide the belt off the clutches, starting from the secondary and working it free from the primary.
Inspect the old belt—any damage, glazing, or fraying confirms replacement was the right call.
Step 4: Install the New Belt
Check the direction arrows printed on the belt—these must align with the forward rotation of the machine. Slide the new belt onto the primary clutch first, then work it over the secondary using the removal tool to spread the sheaves.
Make sure the belt is fully seated in the clutch grooves without twists.
Step 5: Reassemble and Torque
Reinstall the clutch housing cover and bolts, torquing to the manufacturer’s specification. Do not overtighten—warping the cover can lead to dust leaks or misalignment.
Step 6: Break in the Belt
A new belt requires a short break-in period. For the first 20–30 miles:
-
Avoid full-throttle launches
-
Keep RPMs varied rather than holding steady
-
Do not tow heavy loads
This helps the belt seat evenly and ensures maximum lifespan.
Final Thoughts
Replacing your UTV drive belt is straightforward with the right tools and a little patience. Regular inspection and timely replacement protect your drivetrain and keep you on the trail instead of stuck in the shop.
At All Thingz UTV, we carry a full lineup of OEM and performance drive belts built for durability in mud, rocks, and sand. Whether you need a direct replacement or an upgrade for extreme riding, we’ve got you covered.

