Product Description
These do have our All Thingz UTV tag but they are manufactured by PRP
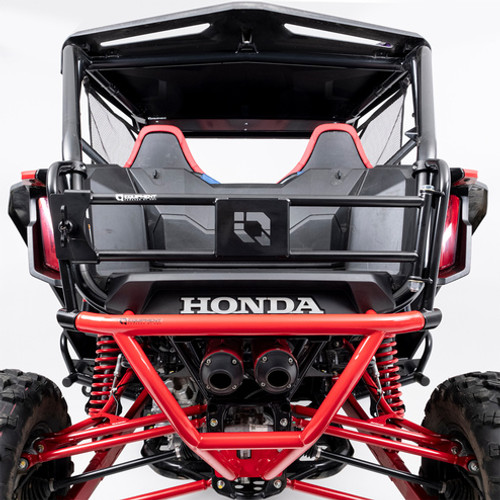
These will fit the Talon R or X. 2020+ Model. Direct fit based on all Talon Model Stock shocks with or without tender springs. The kits are two totally different lengths so be sure you chose the correct model and we will ship accordingly.
These kits are easy to bolt-on for stock length shocks, which simply mount on to the shock bolts. No modifications or welding required.
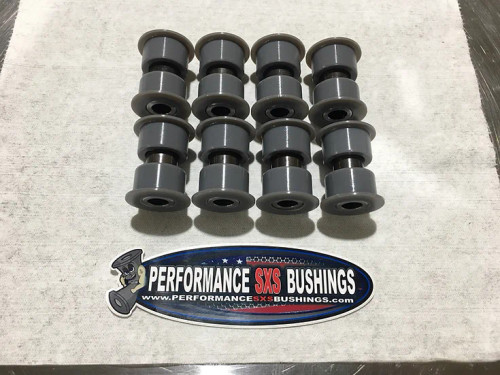
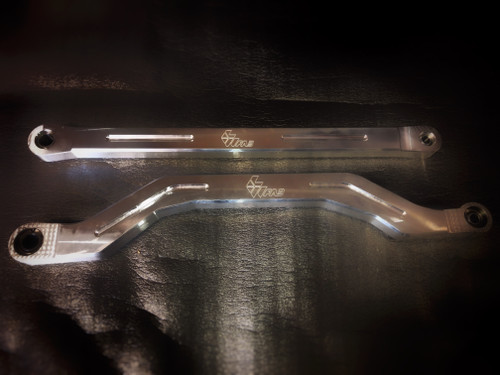
The kit provides you with hardened bolts that are longer than OEM, along with new washers and powder coated spacers for the limit straps. The limit straps are PRP quad layer limit straps, which have been proven over the years with Trophy Trucks and Class 1 buggies.
Limiting Strap Information
R models front 25" /rears 31" X models front 23" /rears 26"
Limiting straps are vital in custom suspension setups that help prevent damage to suspension and drive train components. Without limiting straps, your shocks are the stops at maximum droop. The shock from your vehicle’s un-sprung weight can cause damage to shocks such as when jumping or at high speed over rough sections.
Limiting straps can also prevent damage to your CV joints by limiting the amount of maximum angle on your axles. All CV joints have a maximum amount of degree deflection that they can safely be run at with custom suspension setups. With many suspension setups, the deflection angle can go farther than the CV joint can handle resulting in damage, shorter run life, and CV failure.
Installation Steps
1. Secure the Vehicle
-
Put the UTV in park on level ground.
-
Use a jack to lift the front or rear of the machine (one axle at a time).
-
Secure with jack stands and ensure wheels are off the ground.
2. Remove Shocks (Optional)
-
For accurate setup, you may remove the shock to fully cycle the suspension.
-
This helps find the full droop position and prevents overextension.
3. Cycle Suspension to Full Droop
-
Allow the wheel to hang freely.
-
Measure from the shock mounting tab to the suspension mount to determine the max extension.
4. Determine Mounting Points
-
Most limit straps mount from the shock tower or upper shock bolt to the lower control arm or lower shock bolt.
-
If PRP mounting brackets were included, install them at this point (may require drilling).
5. Install Limit Straps
-
Bolt the top of the strap to the upper mount first (shock bolt or tab).
-
Then compress the suspension 1-2" from full droop.
-
Attach the bottom of the strap to the lower mounting location.
Tip: Limit straps should be slightly shorter than the shock’s extended length (by ~1”–2”) to prevent the shock from acting as the droop limiter.
6. Double Check All Hardware
-
Torque all bolts to spec.
-
Ensure the strap is not rubbing any moving parts or brake lines.
-
Use zip ties to secure excess strap or prevent flapping.
7. Test Suspension Travel
-
Lower the UTV and bounce the suspension.
-
Make sure the straps engage before the shocks top out.
-
Check strap alignment and that mounting hardware remains tight.
Maintenance Tips
-
Inspect regularly for fraying or stretching.
-
Retorque bolts after first ride.
-
Replace straps if wear is visible.
Product Videos
Custom Field
Product Reviews
1 Review Hide Reviews Show Reviews
-
Tried and True
They were easy to install and came with all the hardware. We ran Tackett Creek after installing them, wow what a difference!! Depending on what A-arms your running will depend upon your preference of in front of shock or behind them.


